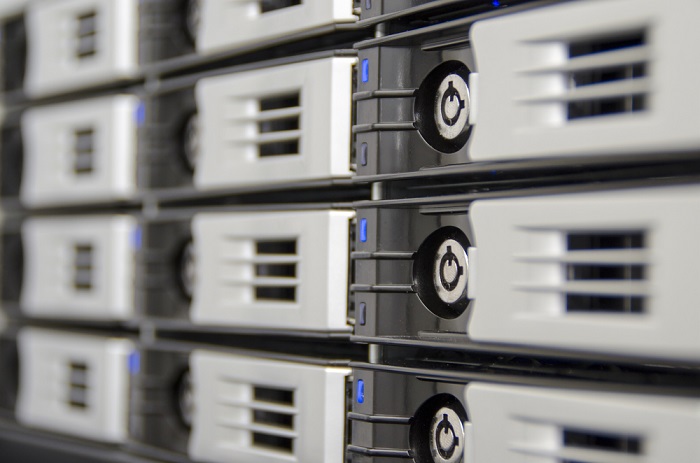
As small businesses continue to rely more on digital data and files, it’s important to have a reliable and secure storage solution. One option that has become increasingly popular in recent years is network attached storage (NAS). In this article, we’ll discuss how to choose, configure, and install a NAS for small businesses.
Choosing a NAS
Before purchasing a NAS, it’s important to consider your business’s specific needs and requirements. Here are a few key factors to keep in mind:
- Capacity: Determine how much storage space your business needs, both now and in the future. It’s important to choose a NAS that can accommodate your growing storage needs.
- Speed: Consider the speed of the NAS, including its read and write speeds. This is especially important if you’ll be using the NAS for data-intensive applications.
- RAID support: Choose a NAS that supports RAID (redundant array of independent disks) if you need extra data protection. RAID allows for data redundancy and can help protect your data in case of a hard drive failure.
- Security: Look for a NAS that supports encryption and other security features to protect your data from unauthorized access.
- Budget: NAS devices can range in price from a few hundred to several thousand dollars, so it’s important to consider your budget before making a purchase.
Configuring a NAS
Once you’ve chosen a NAS that meets your business’s needs, you’ll need to configure it to work with your network. Here are a few steps to follow:
- Connect the NAS to your network: Connect the NAS to your network using an Ethernet cable. Make sure to follow the manufacturer’s instructions for proper installation.
- Configure the network settings: Use the NAS’s web-based interface to configure the network settings, including the IP address and DNS server settings. This will allow the NAS to communicate with other devices on your network.
- Create user accounts: Set up user accounts on the NAS to control access to your files and data. You can create different user accounts with varying levels of access based on your business needs.
- Configure backup settings: Set up backup settings on the NAS to ensure that your data is protected in case of a hardware failure or other issue. You can configure the NAS to automatically back up your data to an external drive or cloud storage service.
Installing a NAS
Installing a NAS in your small business is a relatively simple process, but it’s important to follow the manufacturer’s instructions for proper installation. Here are a few steps to follow:
- Choose a location: Choose a location for the NAS that is easily accessible and has proper ventilation. Make sure to follow the manufacturer’s instructions for proper installation.
- Connect the NAS to power: Connect the NAS to a power outlet using the provided power cord.
- Connect the NAS to your network: Connect the NAS to your network using an Ethernet cable.
- Turn on the NAS: Turn on the NAS and wait for it to boot up.
- Configure the NAS: Follow the manufacturer’s instructions for configuring the NAS to work with your network.
- Test the NAS: Test the NAS to make sure it is working properly and that you can access your files and data.
Conclusion
In conclusion, a network attached storage can be a valuable asset for small businesses, providing secure and reliable storage for digital files and data. By choosing a NAS that meets your business’s needs, configuring it properly, and installing it correctly, you can enjoy the benefits of a robust and scalable storage solution. Remember to consider factors such as capacity, speed, RAID support, security, and budget when choosing a NAS, and follow the manufacturer’s instructions for proper installation and configuration. With a NAS in place, your small business can enjoy secure and reliable storage for years to come.

